Once we insert a header or a footer on any web page in a Phrase doc, it mechanically seems on all of the pages. However typically, we have to insert headers and footers to some particular pages besides the whole Phrase doc. This tutorial will present you how you can insert Headers and Footers on particular pages in Microsoft Phrase.
How do you set a Header on solely sure pages in Phrase?
To insert a Header on solely a sure web page, say web page 7 in Phrase, first, it’s a must to insert a Subsequent Web page Part Break to the tip of its earlier web page, web page 6, and its subsequent web page, web page 8. After that, insert your Header on the focused web page (web page 7) and deselect the Hyperlink to Earlier choice. Now, delete the Header from the earlier web page (web page 6) and the subsequent web page (web page 8). This can put the Header on solely the precise web page. We’ve got defined the whole course of intimately on this article.
Easy methods to insert Headers and Footers on particular pages in Microsoft Phrase
The steps to insert Headers and Footers to some particular pages in Microsoft Phrase are listed beneath:
- Launch Microsoft Phrase.
- Allow the Formatting Marks.
- Go to the web page on which you need to insert Header or Footer.
- Insert a Part Break on the finish of the web page simply earlier than the focused web page.
- Insert Header and Footer on the focused web page.
- Unlink Header and Footer on the focused web page from the earlier pages.
- Delete Header and Footer from the web page simply earlier than the focused web page.
- Insert a Part Break on the finish of the focused web page.
- Choose Header and Footer on the web page subsequent to the focused web page and unlink them from the earlier pages.
- Delete Header and Footer from the web page subsequent to the focused web page.
Let’s see all these steps intimately.
1] Launch Microsoft Phrase.
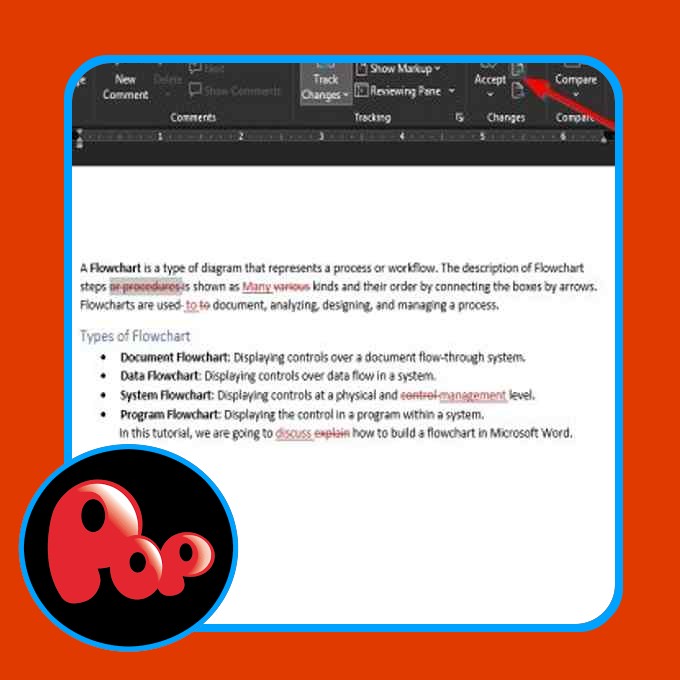
2] Choose the Residence tab and click on on the Present/Cover Formatting Marks button to allow formatting marks (as proven within the above screenshot). The formatting marks will present you all of the formatting that you just do in your Phrase doc. Therefore, it is going to be useful if you insert a Part Break.
3] Now, go to the web page on which you need to insert Header and Footer, and add a Part Break to its earlier web page. Let’s say, if you wish to insert the Header on web page 5 in your doc, it’s a must to add Part Break on web page quantity 4.
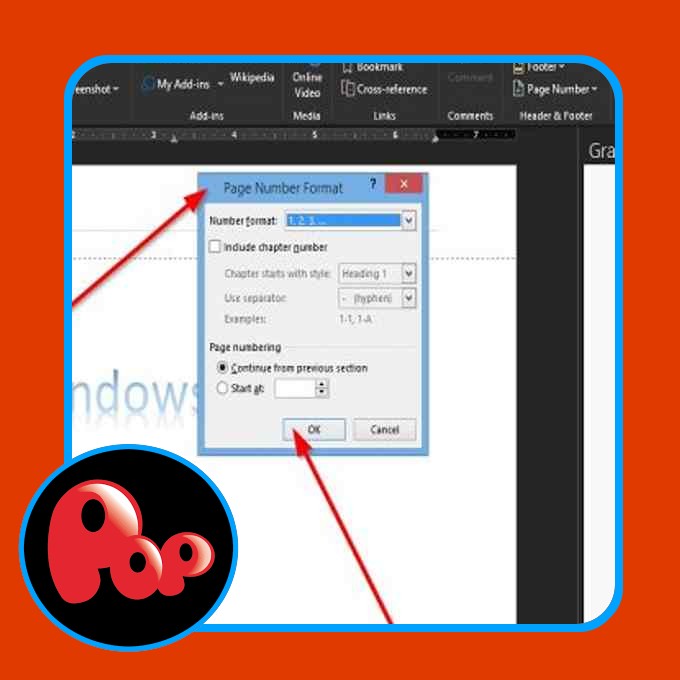
4] So as to add a Part Break, click on on the finish of that web page (based on our instance, it’s web page 4), and go to “Format > Breaks > Part Break.” Now, choose Subsequent Web page.
5] Now, go to the web page the place you need to insert a Header or a Footer. Within the instance that now we have taken right here, it’s web page 5. To insert Header and Footer, double-click on the prime and backside of that web page respectively. Alternatively, you may insert the Header and the Footer from the Insert menu. Merely, go to the Insert menu after which click on on the Header or the Footer drop-down menu to pick out the format of Header and Footer you need to insert into your doc.
6] Sort your Header and Footer on the focused web page. After that, click on on the Design tab and deselect the Hyperlink to Earlier choice. When you’re executed, click on on the Shut Header and Footer button.
Learn: Easy methods to use Header, Footer, and Footnote in Google Docs.
7] After inserting the Header and Footer, you will notice that the Header and the Footer have mechanically been added to all of the pages within the doc. To take away the Header and the Footer from all of the earlier pages, merely choose them on the earlier web page (the web page simply earlier than the focused web page), and press Delete. This can delete the Header and the Footer from all of the pages earlier than the focused web page.
8] To take away Header and Footer from the pages after the focused web page, add Part Break on the finish of the focused web page. Let’s perceive it with the assistance of the instance that now we have taken right here. Our focused web page is 5. Due to this fact, to take away Header and Footer from all of the pages after web page 5, now we have to insert the Part Break on the finish of web page 5.
To do that, go to “Format > Breaks > Part Break” and choose Subsequent Web page. Now, choose Header and Footer on the web page subsequent to the focused web page (in our case, it’s web page 6) and deselect the Hyperlink to Earlier choice within the Design menu. After that, delete Header and Footer from the web page subsequent to the focused web page (web page 6).
Now, your Header and Footer have efficiently been inserted into a particular web page in a Microsoft Phrase doc. Save your doc.
By following the above course of, you can even add completely different Headers and Footers to completely different pages in a Phrase doc.
How do I begin a Header and a Footer on web page 3 in Phrase?
To insert a Header and a Footer on web page 3 in Phrase, first, it’s a must to unlink the Header and Footer on web page 3 from the earlier pages (web page 1 and web page 2). For this, click on on the finish of web page 2, go to “Format > Breaks > Part Break,” and choose Subsequent Web page. This can insert a Part Break after web page 2. Now, insert Header and Footer on web page 3. After that, click on on the Design tab after which deselect the Hyperlink to Earlier choice.
Go to web page 2 and delete Header and Footer from there. This can take away Header and Footer from the primary two pages in your Phrase doc.
Hope this helps.
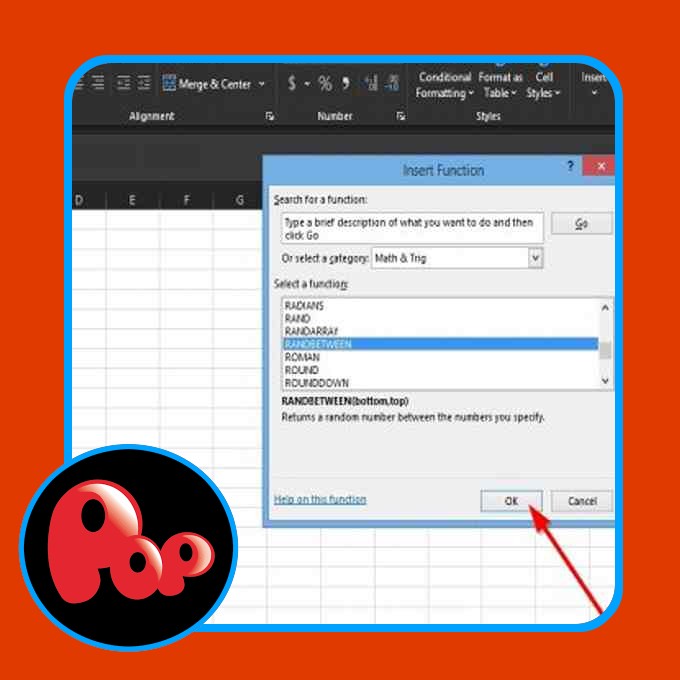
Learn subsequent: Easy methods to add Header and Footer in Excel spreadsheet.